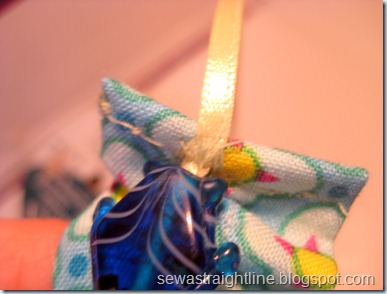
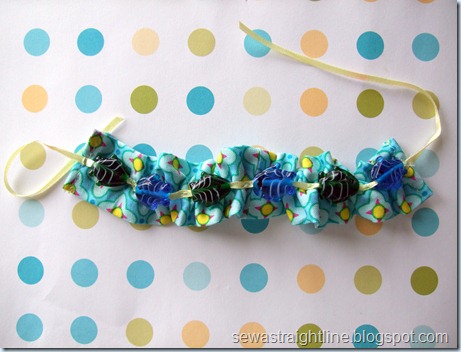
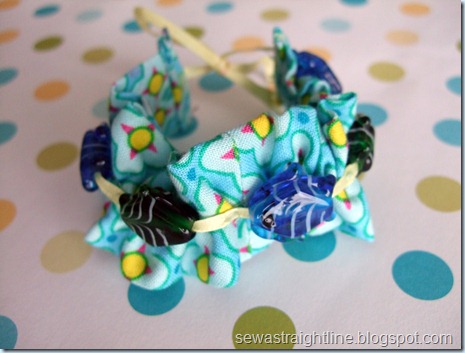
And now it is time for the second fabulous tutorial, this one from Sabra of Sew a Straight Line. Be sure to check out her blog!
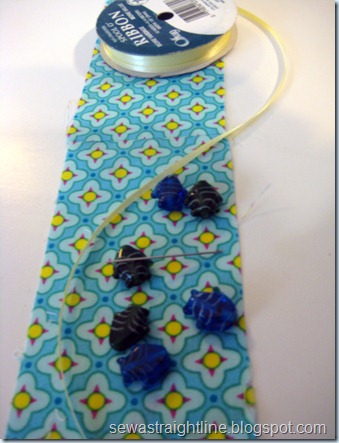
-a spool of thin width ribbon
-a strip of fabric, 3 inches wide and twice as long as your wrist is around
-a needle with a HUGE eye
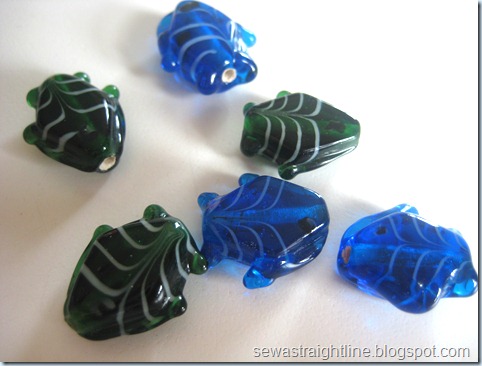
-6 fish beads from SB Supply
-Fray Check (not pictured)
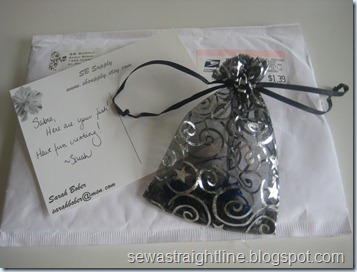
A few weeks ago I received a package in the mail.
Inside was a handwritten note and a handful of beautifully packaged, beautifully crafted glass fish beads from SB Supply on Etsy.
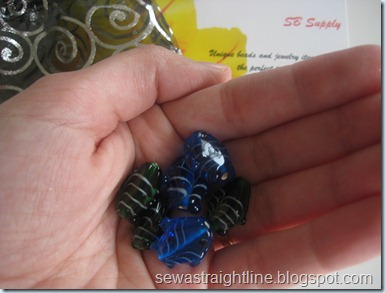

So fun. As I played with them for far longer than a 31 year old woman probably should, my mind went wild with ideas on what to make with them. See, they’re just fun!
They screamed summer to me. Sun and beach and freedom.
My husband and I are going on a cruise for out 10th Anniversary in a couple of months (66 days, not that I have a countdown going or anything…) and I decided I wanted to make an accessory for our Mexican vacation.
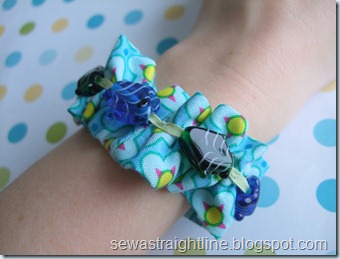
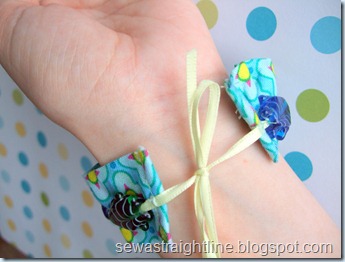
I love how my fish bracelet turned out and am wearing it already.
With all the snow still coming down around here, I figured it might also help as my shout out to the universe that I’m ready for sun, dangit! Please?
The bracelet is super easy to make. If you can run your sewing machine at all, and have 20 minutes to spare, you’re set.
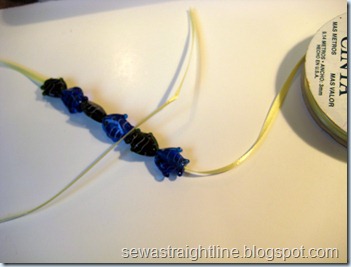
So start with

-a spool of thin width ribbon
-a strip of fabric, 3 inches wide and twice as long as your wrist is around
-a needle with a HUGE eye
-6 fish beads from SB Supply
-Fray Check (not pictured)
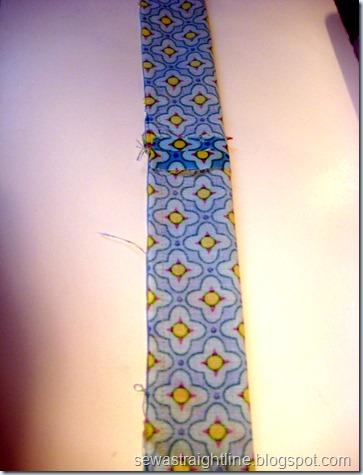
Take your strip and fold it in half, right sides together (my strip was made with pieced fabric, so there’s a seam in the middle. pay no attention to it. you know, other than just now when I drew your attention to it). Stitch up along the raw edge, 1/4 inch in
Turn your newly sewn tube right side out
Press with the seam down the center of one side
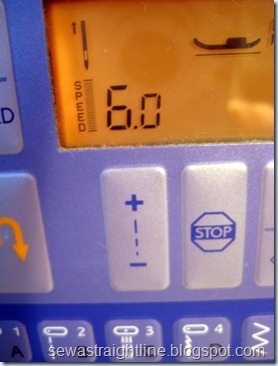
Set your machine to a basting stitch, the longest stitch length
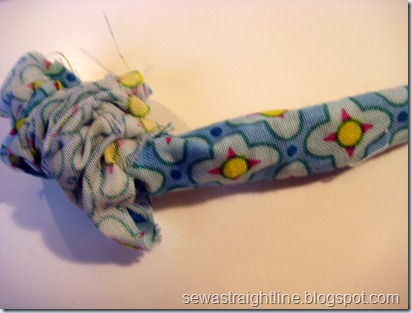
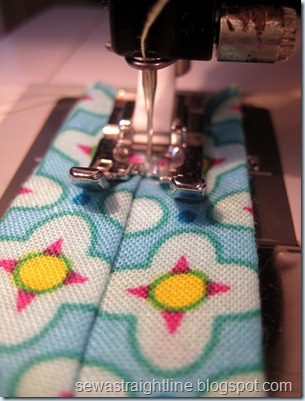
Using the center seam as a guide, sew a basting stitch the length of the strip. DO NOT BACKSTITCH. Leave a length of thread at either end, about 4 inches long or so
Now you’re going to gather the fabric. Simply pull the lower thread at either end and bunch the fabric up 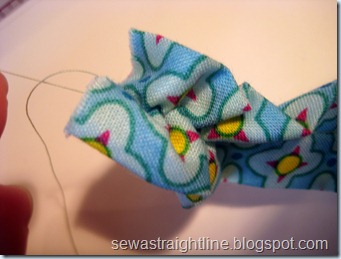


At either end, fold the raw edge over twice and [regular] stitch in place
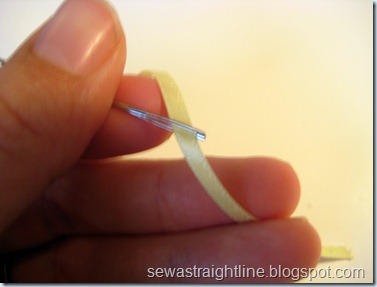
Take your huge-eyed needle and thread one end of ribbon through it. You don’t need to cut off the ribbon from the spool. You can work off the spool as you go here.
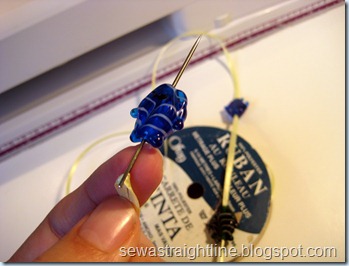
Begin threading the fish beads on the ribbon in the order you’ll want them on your bracelet.
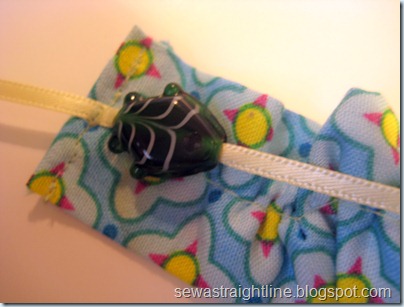
With about a 4 inch overhang, bar tack (a very close zig-zag stitch, thickly sewn) your ribbon in place at one end 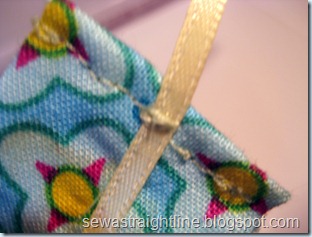
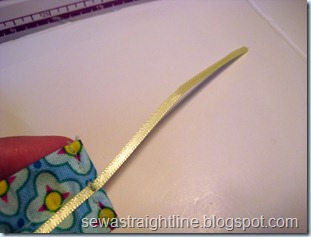


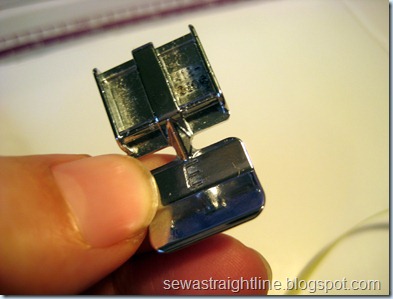
Grab your zipper foot and slap it on your machine
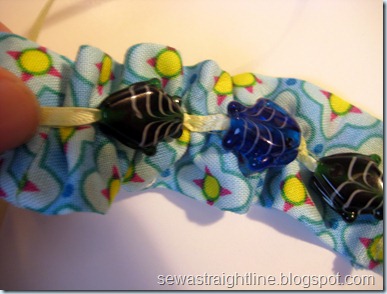
Continue this process for all beads: sliding one up, bar tack, side one up, bar tack, etc until you’ve reached the end of the strip/last of the beads
Cut the ribbon from the spool, leaving a four inch overhang
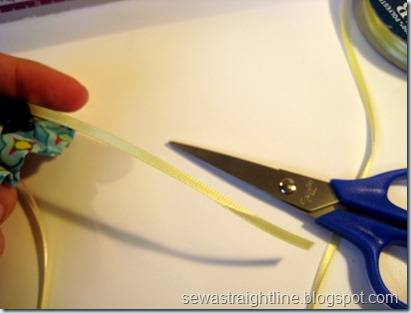
I didn’t get a picture, but apply Fray Check to the ends of the ribbon

I didn’t get a picture, but apply Fray Check to the ends of the ribbon
And that’s it!
Now go dig through your closet for last season’s flip flops, grab an Otter Pop, sit at your back window and shake your sweet little fish bracelet adorned fist at the falling April snow!
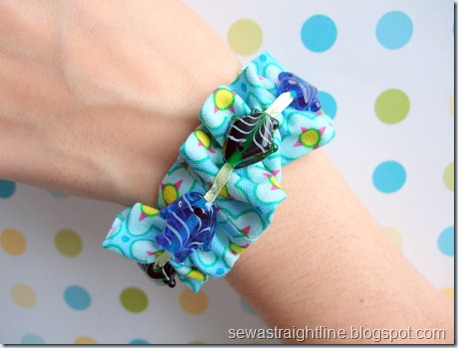

SB Supply is a great resource for all kinds of amazing, beautiful beads and related accessories. So if fish aren't your thing, she's got plenty of other choices to go with for your bracelet and other beady needs. Go check it out!


